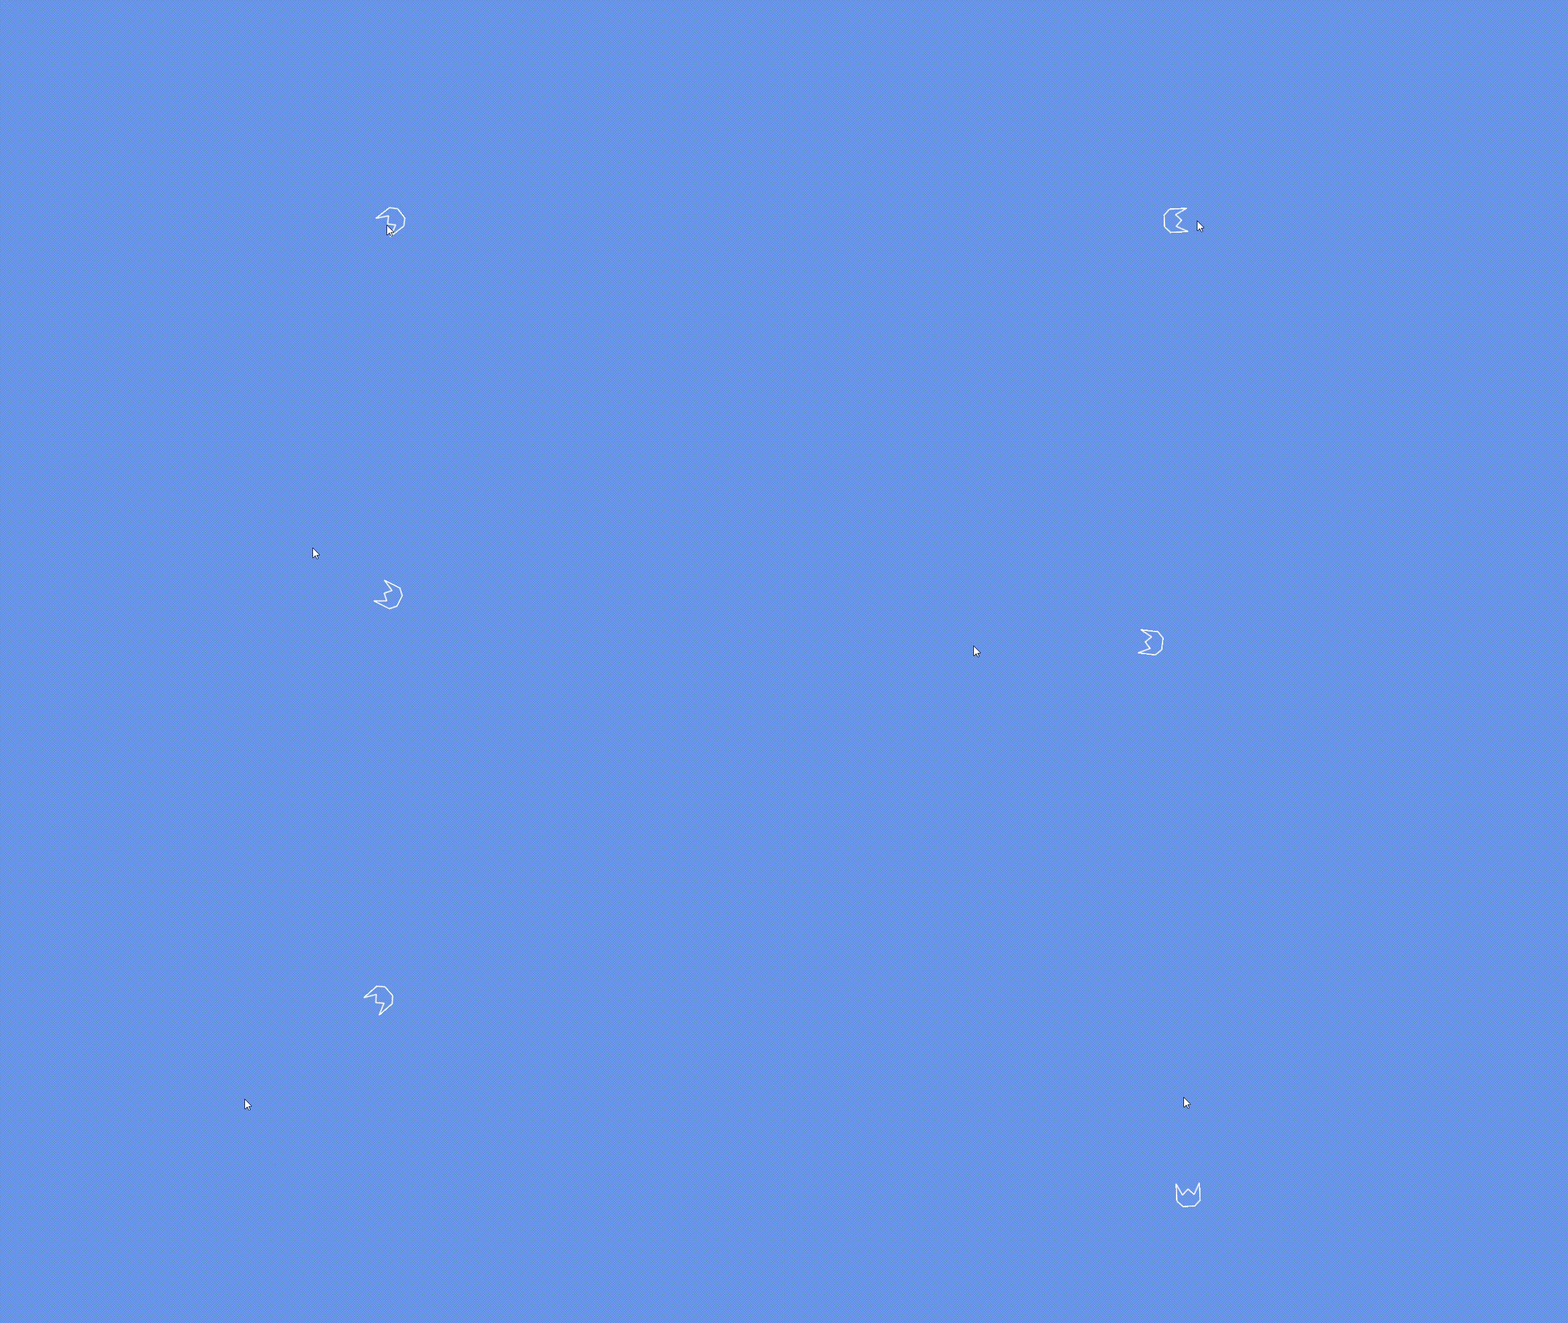
MonoGame 範例 NeonShooter 之 1
本文將以官方提供的範例 NeonShooter 為參考資料,從零開始建立範例中的程式碼,預計會分成多篇來完成,本篇將完成以下部分:
- 載入遊戲素材
- 建立玩家角色
- 玩家角色移動及旋轉
1. 基本遊戲設定
先設置一些基本的設定,在 constructor 中設定視窗的標題 Window.Title 為 Neon Shooter,畫面大小可以隨意設置,這邊設為 1280x720。
Game1.cspublic static int Width { get; private set; }
public static int Height { get; private set; }

public Game1 ()
{
    Window.Title = "Neon Shooter";

    Width = 1280;
    Height = 720;

    m_Graphics = new GraphicsDeviceManager (this)
    {
        PreferredBackBufferWidth = m_Width,
        PreferredBackBufferHeight = m_Height
    };

    //...
}
2. 載入遊戲素材
範例提供了遊戲素材,先將所有 NeonShooter.Core/Content 資料夾內的檔案複製到我們新建的專案底下,可以發現一個 NeonShooter.mgcb 和 Content.mgcb 檔案,MonoGame.Content.Builder.Task 預設在建置遊戲的時候會自動將所有 mgcb 檔案都執行 build,所以可以把 Content.mgcb 刪除,只使用範例提供的 NeonShooter.mgcb 就可以了。
新增一個 Art.cs,宣告一個 static class Art 來讀取貼圖和字型,為了存取方便,所有變數也都宣告為 public static,貼圖的部分使用 Texture2D,字型的部分使用 SpriteFont,其中還宣告了一個 Texture2D 類型的變數 Pixel,使用 SetData 生成了一個 1x1 的貼圖,在範例 AutoPong 裡也使用過這個技巧,當需要畫一個純色的方塊時可以使用。
Art.csusing Microsoft.Xna.Framework;
using Microsoft.Xna.Framework.Content;
using Microsoft.Xna.Framework.Graphics;

namespace NeonShooter
{
    public static class Art
    {
        public static Texture2D Player { get; private set; }
        public static Texture2D Seeker { get; private set; }
        public static Texture2D Wanderer { get; private set; }
        public static Texture2D Bullet { get; private set; }
        public static Texture2D Pointer { get; private set; }
        public static Texture2D BlackHole { get; private set; }

        public static Texture2D LineParticle { get; private set; }
        public static Texture2D Glow { get; private set; }
        public static Texture2D Pixel { get; private set; }

        public static SpriteFont Font { get; private set; }

        public static void Load (ContentManager _contentManager, GraphicsDevice _graphicsDevice)
        {
            Player = _contentManager.Load<Texture2D> ("Art/Player");
            Seeker = _contentManager.Load<Texture2D> ("Art/Seeker");
            Wanderer = _contentManager.Load<Texture2D> ("Art/Wanderer");
            Bullet = _contentManager.Load<Texture2D> ("Art/Bullet");
            Pointer = _contentManager.Load<Texture2D> ("Art/Pointer");
            BlackHole = _contentManager.Load<Texture2D> ("Art/Black Hole");

            LineParticle = _contentManager.Load<Texture2D> ("Art/Laser");
            Glow = _contentManager.Load<Texture2D> ("Art/Glow");

            Pixel = new Texture2D (_graphicsDevice, 1, 1);
            Pixel.SetData ([Color.White]);

            Font = _contentManager.Load<SpriteFont> ("Font");
        }
    }
}
新增一個 Sound.cs,宣告一個 static class Sound 來讀取音樂和音效,Song 用來讀取音樂,SoundEffect 用來讀取音效,差別在於 SoundEffect 在 Play 的時候會產生一個 SoundEffectInstance,可以同時播放多次音效。
將音效以陣列的方式儲存,配合 getter 和 Random 的使用就可以在每次需要使用音效的時候自動隨機選擇其中一種。
Sound.csusing Microsoft.Xna.Framework.Audio;
using Microsoft.Xna.Framework.Content;
using Microsoft.Xna.Framework.Media;
using System;
using System.Linq;

namespace NeonShooter
{
    public static class Sound
    {
        public static Song Music { get; private set; }

        private static readonly Random m_Rand = new ();

        private static SoundEffect[] m_Explosions;
        public static SoundEffect Explosion { get { return m_Explosions[m_Rand.Next (m_Explosions.Length)]; } }

        private static SoundEffect[] m_Shots;
        public static SoundEffect Shot { get { return m_Shots[m_Rand.Next (m_Shots.Length)]; } }

        private static SoundEffect[] m_Spawns;
        public static SoundEffect Spawn { get { return m_Spawns[m_Rand.Next (m_Spawns.Length)]; } }

        public static void Load (ContentManager _contentManager)
        {
            Music = _contentManager.Load<Song> ("Audio/Music");

            m_Explosions = Enumerable.Range (1, 8).Select (x => _contentManager.Load<SoundEffect> ("Audio/explosion-0" + x)).ToArray ();
            m_Shots = Enumerable.Range (1, 4).Select (x => _contentManager.Load<SoundEffect> ("Audio/shoot-0" + x)).ToArray ();
            m_Spawns = Enumerable.Range (1, 8).Select (x => _contentManager.Load<SoundEffect> ("Audio/spawn-0" + x)).ToArray ();
        }
    }
}
MediaPlayer 用來管理 Song 的播放,素材都載入以後就可以呼叫 Play 開始播放音樂了。
Game1.csprotected override void LoadContent ()
{
    m_SpriteBatch = new SpriteBatch (GraphicsDevice);

    Art.Load (Content, GraphicsDevice);
    Sound.Load (Content);

    MediaPlayer.IsRepeating = true;
    MediaPlayer.Play (Sound.Music);
}
3. 建立玩家角色
新增一個 PlayerShip.cs,宣告一個 class PlayerShip,這個 class 將處理玩家角色的移動、攻擊、死亡等互動,先新增一些必要的變數包含貼圖、位置、旋轉等,在 Art.Load 完成後傳入 Art.Player 初始化 m_PlayerShip,把玩家預設放置在畫面中間,畫面大小可以透過 GraphicsDevice.Viewport 取得,再加上對應的 Draw 函式。
注意 Draw 函式的 origin 參數,文件說明這是旋轉的中心,以我的理解,旋轉都是以原點為中心,為了讓 origin 的點成為原點,就要位移 -origin 的向量,這裡傳入 m_Size / 2f,代表要以圖片的中心為原點,那麼畫面上圖片的最左上角的點就會是 m_Position - m_Size / 2f。
PlayerShip.csusing Microsoft.Xna.Framework;
using Microsoft.Xna.Framework.Graphics;

namespace NeonShooter
{
    public class PlayerShip
    {
        private Texture2D m_Image;
        private Vector2 m_Position = Vector2.Zero;
        private Color m_Color = Color.White;
        private float m_Rotation = 0f;
        private Vector2 m_Size = Vector2.Zero;
        private float m_Scale = 1f;

        public Vector2 Position { get { return m_Position; } }
        public float Rotation { get { return m_Rotation; } }
        public Vector2 Size { get { return m_Size; } }

        public PlayerShip (Texture2D _image, Vector2 _position, float _rotation)
        {
            m_Image = _image;
            m_Position = _position;
            m_Rotation = _rotation;
            m_Size = new Vector2 (_image.Width, _image.Height);
        }

        public void Draw (SpriteBatch _spriteBatch)
        {
            _spriteBatch.Draw (m_Image, m_Position, null, m_Color, m_Rotation, m_Size / 2f, m_Scale, SpriteEffects.None, 0f);
        }
    }
}
Game1.csprivate PlayerShip m_PlayerShip;

protected override void LoadContent ()
{
    //...

    m_PlayerShip = new PlayerShip (Art.Player, new Vector2 (Width / 2f, Height / 2f), 0);
}

protected override void Draw (GameTime _gameTime)
{
    //...

    m_SpriteBatch.Begin ();
    m_PlayerShip.Draw (m_SpriteBatch);
    m_SpriteBatch.End ();

    base.Draw (_gameTime);
}
4. 加入控制
透過 Keyboard.GetState 和 Mouse.GetState 可以取得鍵盤和滑鼠的狀態,在 PlayerShip 中新增一個 Update 函式,宣告一個 Vector2 變數 direction 表示移動方向,用 IsKeyDown 函式判斷鍵盤按鍵的狀態,W、A、S、D 分別對應上下左右改變 direction 的值。
PlayerShip.cspublic void Update ()
{
    KeyboardState keyboardState = Keyboard.GetState ();

    Vector2 direction = Vector2.Zero;
    if (keyboardState.IsKeyDown (Keys.A))
    {
        direction.X -= 1f;
    }

    if (keyboardState.IsKeyDown (Keys.D))
    {
        direction.X += 1f;
    }

    if (keyboardState.IsKeyDown (Keys.W))
    {
        direction.Y -= 1f;
    }

    if (keyboardState.IsKeyDown (Keys.S))
    {
        direction.Y += 1f;
    }
}
接著因為 direction 代表的是方向,向量的長度必須為 1 才不會影響到速度的計算,可以利用 LengthSquared 取得長度的平方決定是否該正規化,該值若不等於 1 則代表長度不等於 1,之所以不用 Length 是因為同樣的效果下 LengthSquared 減少了開平方根的計算,接著呼叫 Normalize 進行正規化。
計算出方向以後乘上速度就可以得到位移的向量,將 m_Position 加上位移的向量,並且限制移動以後不可超過場地。
根據前面針對 origin 的說明,可以知道物體左上角的點會是 m_Position - Size / 2,這個值不可小於 0,所以 m_Position 必須大於等於 Size / 2,同理物體右下角的點是 m_Position + Size / 2,XY 不可超過 Game1.Width 和 Game1.Height,也就是 m_Position.X 要小於等於 Game1.Width - Size.X / 2,m_Position.Y 要小於等於 Game1.Height - Size.Y / 2 算式如下。
m_Position - (Size / 2) ≧ 0
→ m_Position ≧ (Size / 2)
m_Position + (Size / 2) ≦ [Game1.Width, Game1.Height]
→ m_Position ≦ [Game1.Width, Game1.Height] - (Size / 2)
PlayerShip.cspublic void Update ()
{
    //...

    if (direction != Vector2.Zero && direction.LengthSquared () != 1f)
    {
        direction.Normalize ();
    }

    m_Position += direction * 8;
    m_Position.X = float.Clamp (m_Position.X, Size.X / 2, (Game1.Width - Size.X / 2));
    m_Position.Y = float.Clamp (m_Position.Y, Size.Y / 2, (Game1.Height - Size.Y / 2));
}
範例中可以使用鍵盤或滑鼠來控制射擊方向,我希望修改一下,只用滑鼠來控制射擊方向,Mouse.GetState 取得滑鼠的狀態,之後再將滑鼠的位置減去角色的位置就可以得到向量,這個向量就代表了角色的射擊方向,接著一樣呼叫 Normalize 進行正規化。
PlayerShip.cspublic void Update ()
{
    //...

    MouseState mouseState = Mouse.GetState ();

    Vector2 aimDirection = new Vector2 (mouseState.X, mouseState.Y) - m_Position;
    if (aimDirection != Vector2.Zero && aimDirection.LengthSquared () != 1f)
    {
        aimDirection.Normalize ();
    }
}
取得方向向量以後,需要再計算出和原點的夾角,因為在 Draw 函式中傳入的 rotation 參數是弧度,所以計算出來的角度也要轉換成弧度,呼叫 Math.Atan2 就可以計算出夾角的弧度,最後把結果賦值給 m_Rotation,m_Rotation 將作為 rotation 參數傳給 Draw,如此一來就完成旋轉的功能了。
PlayerShip.cspublic void Update ()
{
    //...

    m_Rotation = (float)Math.Atan2 (aimDirection.Y, aimDirection.X);
}
