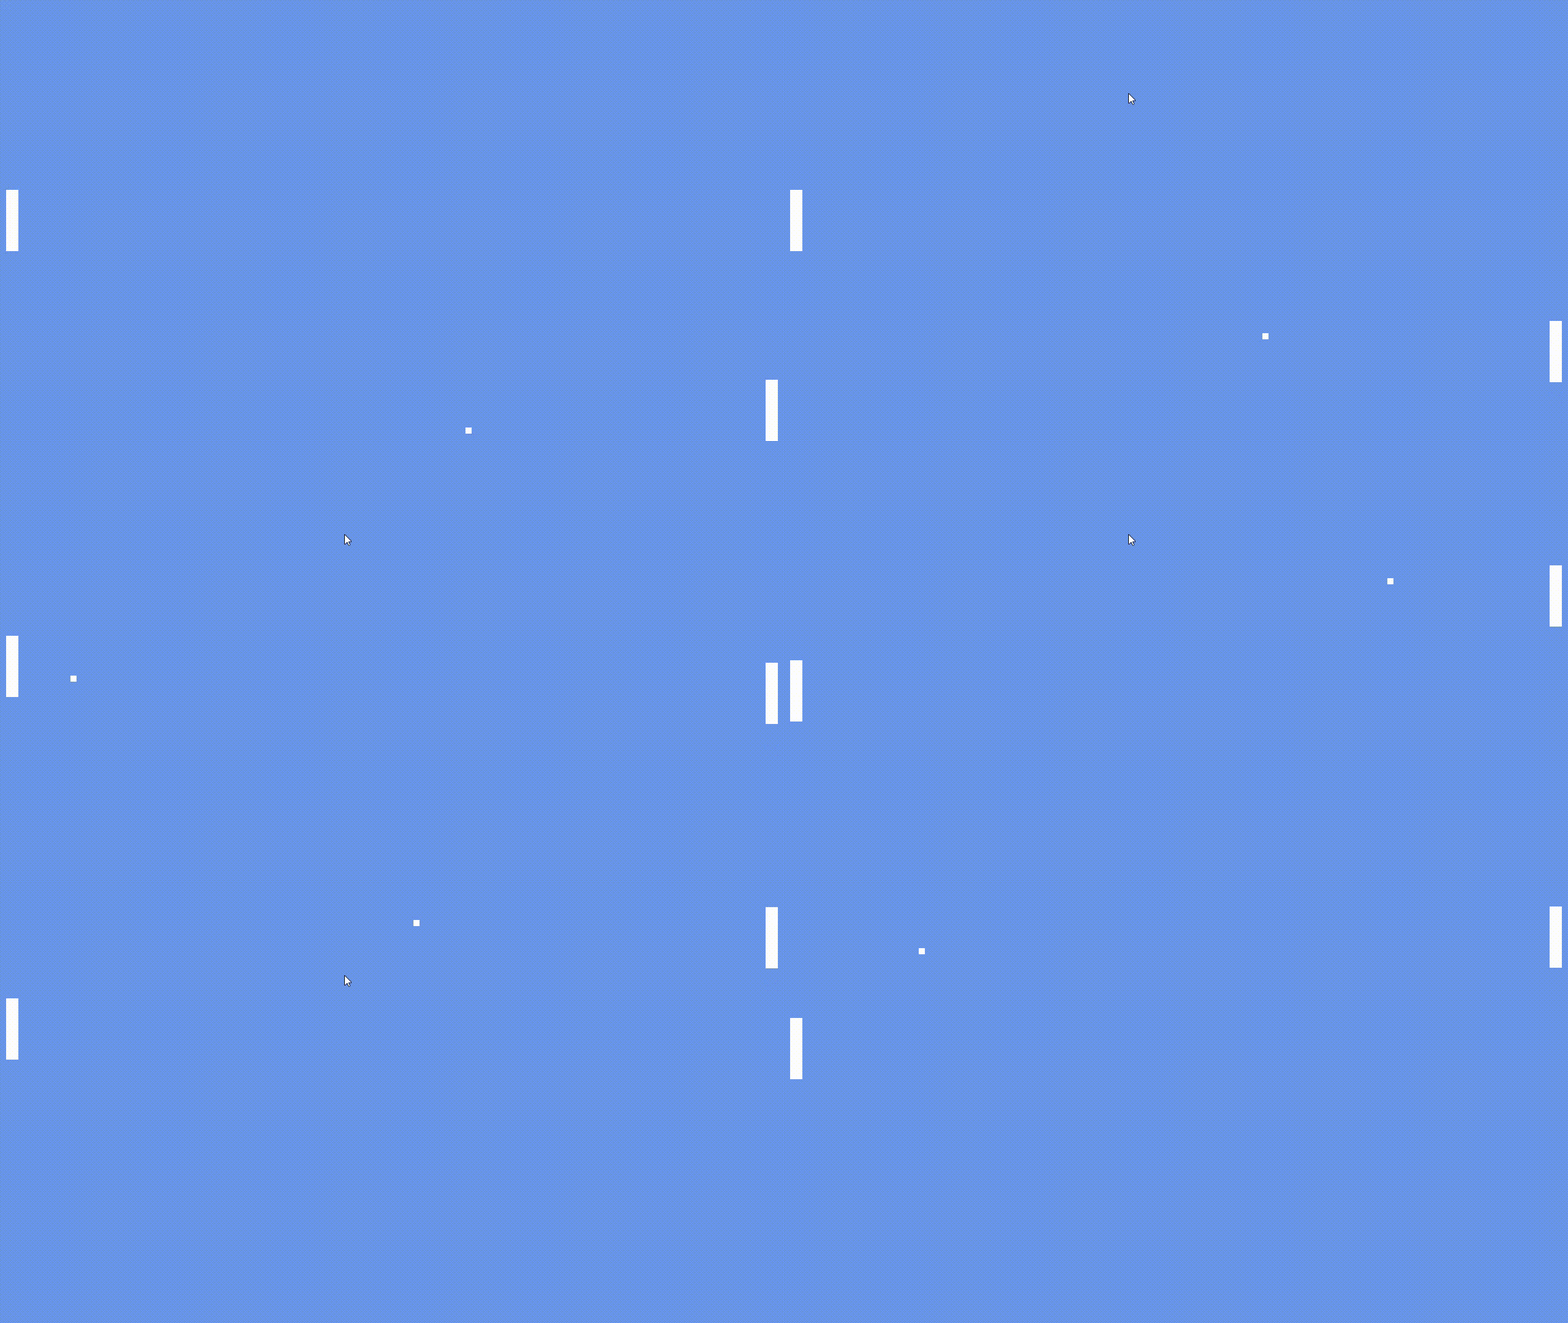
MonoGame 範例 AutoPong
本文將以官方提供的範例 AutoPong 為參考資料,從零開始建立範例中的程式碼,並在內容加入一些變化,將包含以下部分:
- 設定畫面尺寸
- 製作球和方塊
- 移動球
- 移動方塊
- 球和方塊的碰撞
1. 設定畫面尺寸
一開始要決定畫面的尺寸,寬度和高度是以像素為單位,最小的長度是 1,因此用 int 作為變數類型宣告 m_Width 和 m_Height,同時給定初始值。
private int m_Width = 1280;
private int m_Height = 720;
接著在 constructor 中設定 GraphicsDeviceManager 的 PreferredBackBufferWidth 和 PreferredBackBufferHeight,在視窗模式下這兩個值分別代表的視窗的寬度與高度,只要在 Game 執行 Run 之前設定好就會在遊戲初始化的過程中生效,否則必須要接著呼叫 GraphicsDeviceManager 的 ApplyChanges 才可以。
m_Graphics = new GraphicsDeviceManager (this)
{
    PreferredBackBufferWidth = m_Width,
    PreferredBackBufferHeight = m_Height
};

// 如果不是在初始化的時候就設定,還需要再呼叫
// m_Graphics.ApplyChanges ();
現在執行遊戲以後已經可以看到一個 1280x720 大小的視窗了,視窗內可見的範圍將當作遊戲的場地。
2. 製作球和方塊
為了能將物體顯示在畫面上,需要使用到 SpriteBatch 的 Draw 函式,而執行 Draw 函式需要一個 Texture2D 參數,Texture2D 用來表示 2D 貼圖。
Texture2D 內容可以透過程式去生成,範例在這裡 new 了一個只有 1x1 的 Texture2D 物件,並且用 SetData 將唯一的 pixel 設為白色,因為在之後的使用上只需要一種顏色,所以只要 1x1 的大小就可以了。
除了透過程式生成,也可以使用 Content.Load 從資料夾中讀取圖片,函式會回傳一個 Texture2D 物件,不必再 new 一個。
public Texture2D m_Texture;

protected override void LoadContent ()
{
    //...

    m_Texture = new Texture2D (m_Graphics.GraphicsDevice, 1, 1);
    m_Texture.SetData ([Color.White]);

    // 使用 Content.Load 讀取圖片
    // m_Texture = Content.Load<Texture2D> ("ball");
}準備好貼圖之後,Draw 函式還需要知道應該畫在哪裡,畫的範圍有多大,範例在這裡使用 Rectangle 來代表球跟方塊,Rectangle 本身就可以包含位置跟範圍的資料,同時也可以做為傳入 Draw 的參數,因為 MonoGame 本身並沒有包含物理引擎,碰撞檢測必須自己實現,所以都先以方塊來處理較為簡單,暫時不考慮圓形。
接著新增三個 Rectangle 變數 m_PaddleLeft, m_PaddleRight, m_Ball 分別代表左右側方塊和球,寬高為 20x100 的方塊放置在左右側邊緣,寬高為 10x10 的球放在畫面中心,MonoGame 預設是以畫面的左上角為原點 (0, 0),x 軸向右為正,y 軸向下為正,因此計算置中的時候要記得減去自身長度的 1/2。
private Rectangle m_PaddleLeft;
private Rectangle m_PaddleRight;
private Rectangle m_Ball;

protected override void LoadContent ()
{
    //...

    m_PaddleLeft = new Rectangle (0 + 10, m_Height / 2 - 50, 20, 100);
    m_PaddleRight = new Rectangle (m_Width - 30, m_Height / 2 - 50, 20, 100);

    m_Ball = new Rectangle (m_Width / 2 - 5, m_Height / 2 - 5, 10, 10);
}
現在可以開始來畫方塊和球了,第一個參數傳入 m_Texture,第二個參數傳入要畫的位置,可以直接取 Rectangle 的 XY 值來使用,需要注意 Draw 函數的第三個參數,這個 sourceRectangle 指的是在 Texture2D 上採樣的範圍,如果是 null 的話就會使用整張貼圖,採樣的範圍會轉換成 texel 的方式計算,也就是 uv。
舉例來說,如果有一張 64x64 的貼圖,傳入的參數是 Rectangle (0, 0, 32, 32),那麼就會從 (0, 0) 這個點開始,採樣 32x32 範圍內的貼圖顏色畫到畫面上,從 (0, 0), (0, 1), (0, 2) 一直到 (32, 32),換算成 uv 值就是 (0, 0), (0, 1/64), (0, 2/64) 到 (32/64, 32/64),於是看到的就會是左上的 1/4 張貼圖。
範例這裡直接使用 m_PaddleLeft 等作為參數,在貼圖只有 1x1 的情況下,uv 很輕易的就會超過 1,而 SpriteBatch.Begin 的 samplerState 預設為 SamplerState.LinearClamp,uv 會被限制在 [0, 1] 的區間,所以無論如何採樣都會是同個 pixel,如此就能以同個顏色填滿整個範圍。
protected override void Draw (GameTime _gameTime)
{
    GraphicsDevice.Clear (Color.CornflowerBlue);

    m_SpriteBatch.Begin ();

    m_SpriteBatch.Draw (m_Texture, new Vector2 (m_PaddleLeft.X, m_PaddleLeft.Y), m_PaddleLeft, Color.White, 0, Vector2.Zero, 1.0f, SpriteEffects.None, 0.00001f);
    m_SpriteBatch.Draw (m_Texture, new Vector2 (m_PaddleRight.X, m_PaddleRight.Y), m_PaddleRight, Color.White, 0, Vector2.Zero, 1.0f, SpriteEffects.None, 0.00001f);
    m_SpriteBatch.Draw (m_Texture, new Vector2 (m_Ball.X, m_Ball.Y), m_Ball, Color.White, 0, Vector2.Zero, 1.0f, SpriteEffects.None, 0.00001f);

    m_SpriteBatch.End ();

    base.Draw (_gameTime);
}
做到這裡應該可以看到畫面上有三個方塊了,接著要讓他們動起來。
3. 移動球
要讓球動起來必須要決定方向和速度,因為 Rectangle 的數值型態是 int,用來計算移動可能會產生誤差造成球看起來抖動,所以另外宣告一個 Vector2 變數 m_BallPosition 來記錄球當前的位置,接著宣告一個 Vector2 變數 m_BallVelocity 代表移動的方向,最後宣告一個 float 變數 m_BallSpeed 代表移動的速度,在之後的計算中向量的長度會影響到球移動的速度,但影響並不大所以這裡就不進一步的處理了。
private Vector2 m_BallPosition;
private Vector2 m_BallVelocity;
private float m_BallSpeed = 15.0f;

protected override void LoadContent ()
{
    //...

    m_BallPosition = new Vector2 (m_Ball.X, m_Ball.Y);
    m_BallVelocity = new Vector2 (1.0f, 0.1f);
}
在 Update 中更新球的位置,分別在 x, y 座標加上移動的距離。
protected override void Update (GameTime _gameTime)
{
    //...

    m_BallPosition.X += m_BallVelocity.X * m_BallSpeed;
    m_BallPosition.Y += m_BallVelocity.Y * m_BallSpeed;

    base.Update (_gameTime);
}
在呼叫 Draw 之前,把位置更新回 m_Ball。
protected override void Draw (GameTime _gameTime)
{
    //...

    m_Ball.X = (int)m_BallPosition.X;
    m_Ball.Y = (int)m_BallPosition.Y;
    m_SpriteBatch.Draw (m_Texture, new Vector2 (m_Ball.X, m_Ball.Y), m_Ball, Color.White, 0, Vector2.Zero, 1.0f, SpriteEffects.None, 0.00001f);

    //...
}
這時候球已經會移動了,但是很快地就跑出畫面外了,現在要加上邊界,讓他碰到邊界以後可以反彈,超出左右邊界時就將 x 軸速度翻轉,超出上下邊界時就將 y 軸速度翻轉,需要注意球是一個方塊不是一個點,所以要將寬高考慮進去。
protected override void Update (GameTime _gameTime)
{
    //...

    m_BallPosition.X += m_BallVelocity.X * m_BallSpeed;
    m_BallPosition.Y += m_BallVelocity.Y * m_BallSpeed;

    if (m_BallPosition.X < 0)
    {
        m_BallPosition.X = 1;
        m_BallVelocity.X *= -1;
    }
    else if (m_BallPosition.X > m_Width - 10)
    {
        m_BallPosition.X = m_Width - 11;
        m_BallVelocity.X *= -1;
    }

    if (m_BallPosition.Y < 0)
    {
        m_BallPosition.Y = 10 + 1;
        m_BallVelocity.Y *= -1;
    }
    else if (m_BallPosition.Y > m_Height - 10)
    {
        m_BallPosition.Y = m_Height - 11;
        m_BallVelocity.Y *= -1;
    }

    //...
}
4. 移動方塊
在範例中,左邊的方塊是以隨機速度跟隨著球移動的,這邊改成讓玩家來控制,右邊的方塊則維持跟隨著球。
Keyboard.GetState 可以取得一個 KeyboardState 物件,該物件會記錄鍵盤的狀態,再透過 IsKeyDown 可以檢查某顆按鍵是否正被按住,當上下方向鍵被按住的時候,就讓方塊移動一段距離。
protected override void Update (GameTime _gameTime)
{
    //...

    KeyboardState keyboardState = Keyboard.GetState ();
    if (keyboardState.IsKeyDown (Keys.Up))
    {
        m_PaddleLeft.Y -= 8;
    }
    else if (keyboardState.IsKeyDown (Keys.Down))
    {
        m_PaddleLeft.Y += 8;
    }

    //...
}
當右邊的方塊和球 y 軸的距離超過球的長度時,就讓他在 y 軸往球的位置靠近一段距離。
protected override void Update (GameTime _gameTime)
{
    //...

    int paddleCenter = m_PaddleRight.Y + m_PaddleRight.Height / 2;
    if (paddleCenter < m_BallPosition.Y - 10)
    {
        m_PaddleRight.Y -= (int)((paddleCenter - m_BallPosition.Y) * 0.1f);
    }
    else if (paddleCenter > m_BallPosition.Y + 30)
    {
        m_PaddleRight.Y += (int)((m_BallPosition.Y - paddleCenter) * 0.1f);
    }

    //...
}
方塊有可能會超出邊界,所以再加上檢查。
protected override void Update (GameTime _gameTime)
{
    //...

    LimitPaddle (ref m_PaddleLeft);
    LimitPaddle (ref m_PaddleRight);

    //...
}

private void LimitPaddle (ref Rectangle _paddle)
{
    if (_paddle.Y < 0)
    {
        _paddle.Y = 0;
    }
    else if (_paddle.Y + _paddle.Height > m_Height)
    {
        _paddle.Y = m_Height - _paddle.Height;
    }
}
5. 球和方塊的碰撞
到目前為止,球跟方塊已經可以在畫面中來回的移動了,但是會直接穿過方塊,我們要讓球碰到方塊的時候可以反彈,就必須檢查兩個物體是否發生碰撞。
範例使用 Intersects 函式檢查兩個 Rectangle 是否有相交,如果有相交的話代表兩個物體之間產生了碰撞,忽略了剛好接觸到的情形,因為這並不會有太大影響,所以保持原樣就可以了。
protected override void Update (GameTime _gameTime)
{
    //...

    m_BallPosition.X += m_BallVelocity.X * m_BallSpeed;
    m_BallPosition.Y += m_BallVelocity.Y * m_BallSpeed;

    if (m_PaddleLeft.Intersects (m_Ball))
    {
        m_BallVelocity.X *= -1;
        m_BallPosition.X = m_PaddleLeft.X + m_PaddleLeft.Width;
    }

    if (m_PaddleRight.Intersects (m_Ball))
    {
        m_BallVelocity.X *= -1;
        m_BallPosition.X = m_PaddleRight.X - 10;
    }

    //...
}
到這裡,我們就完成範例中主要的部份了。
